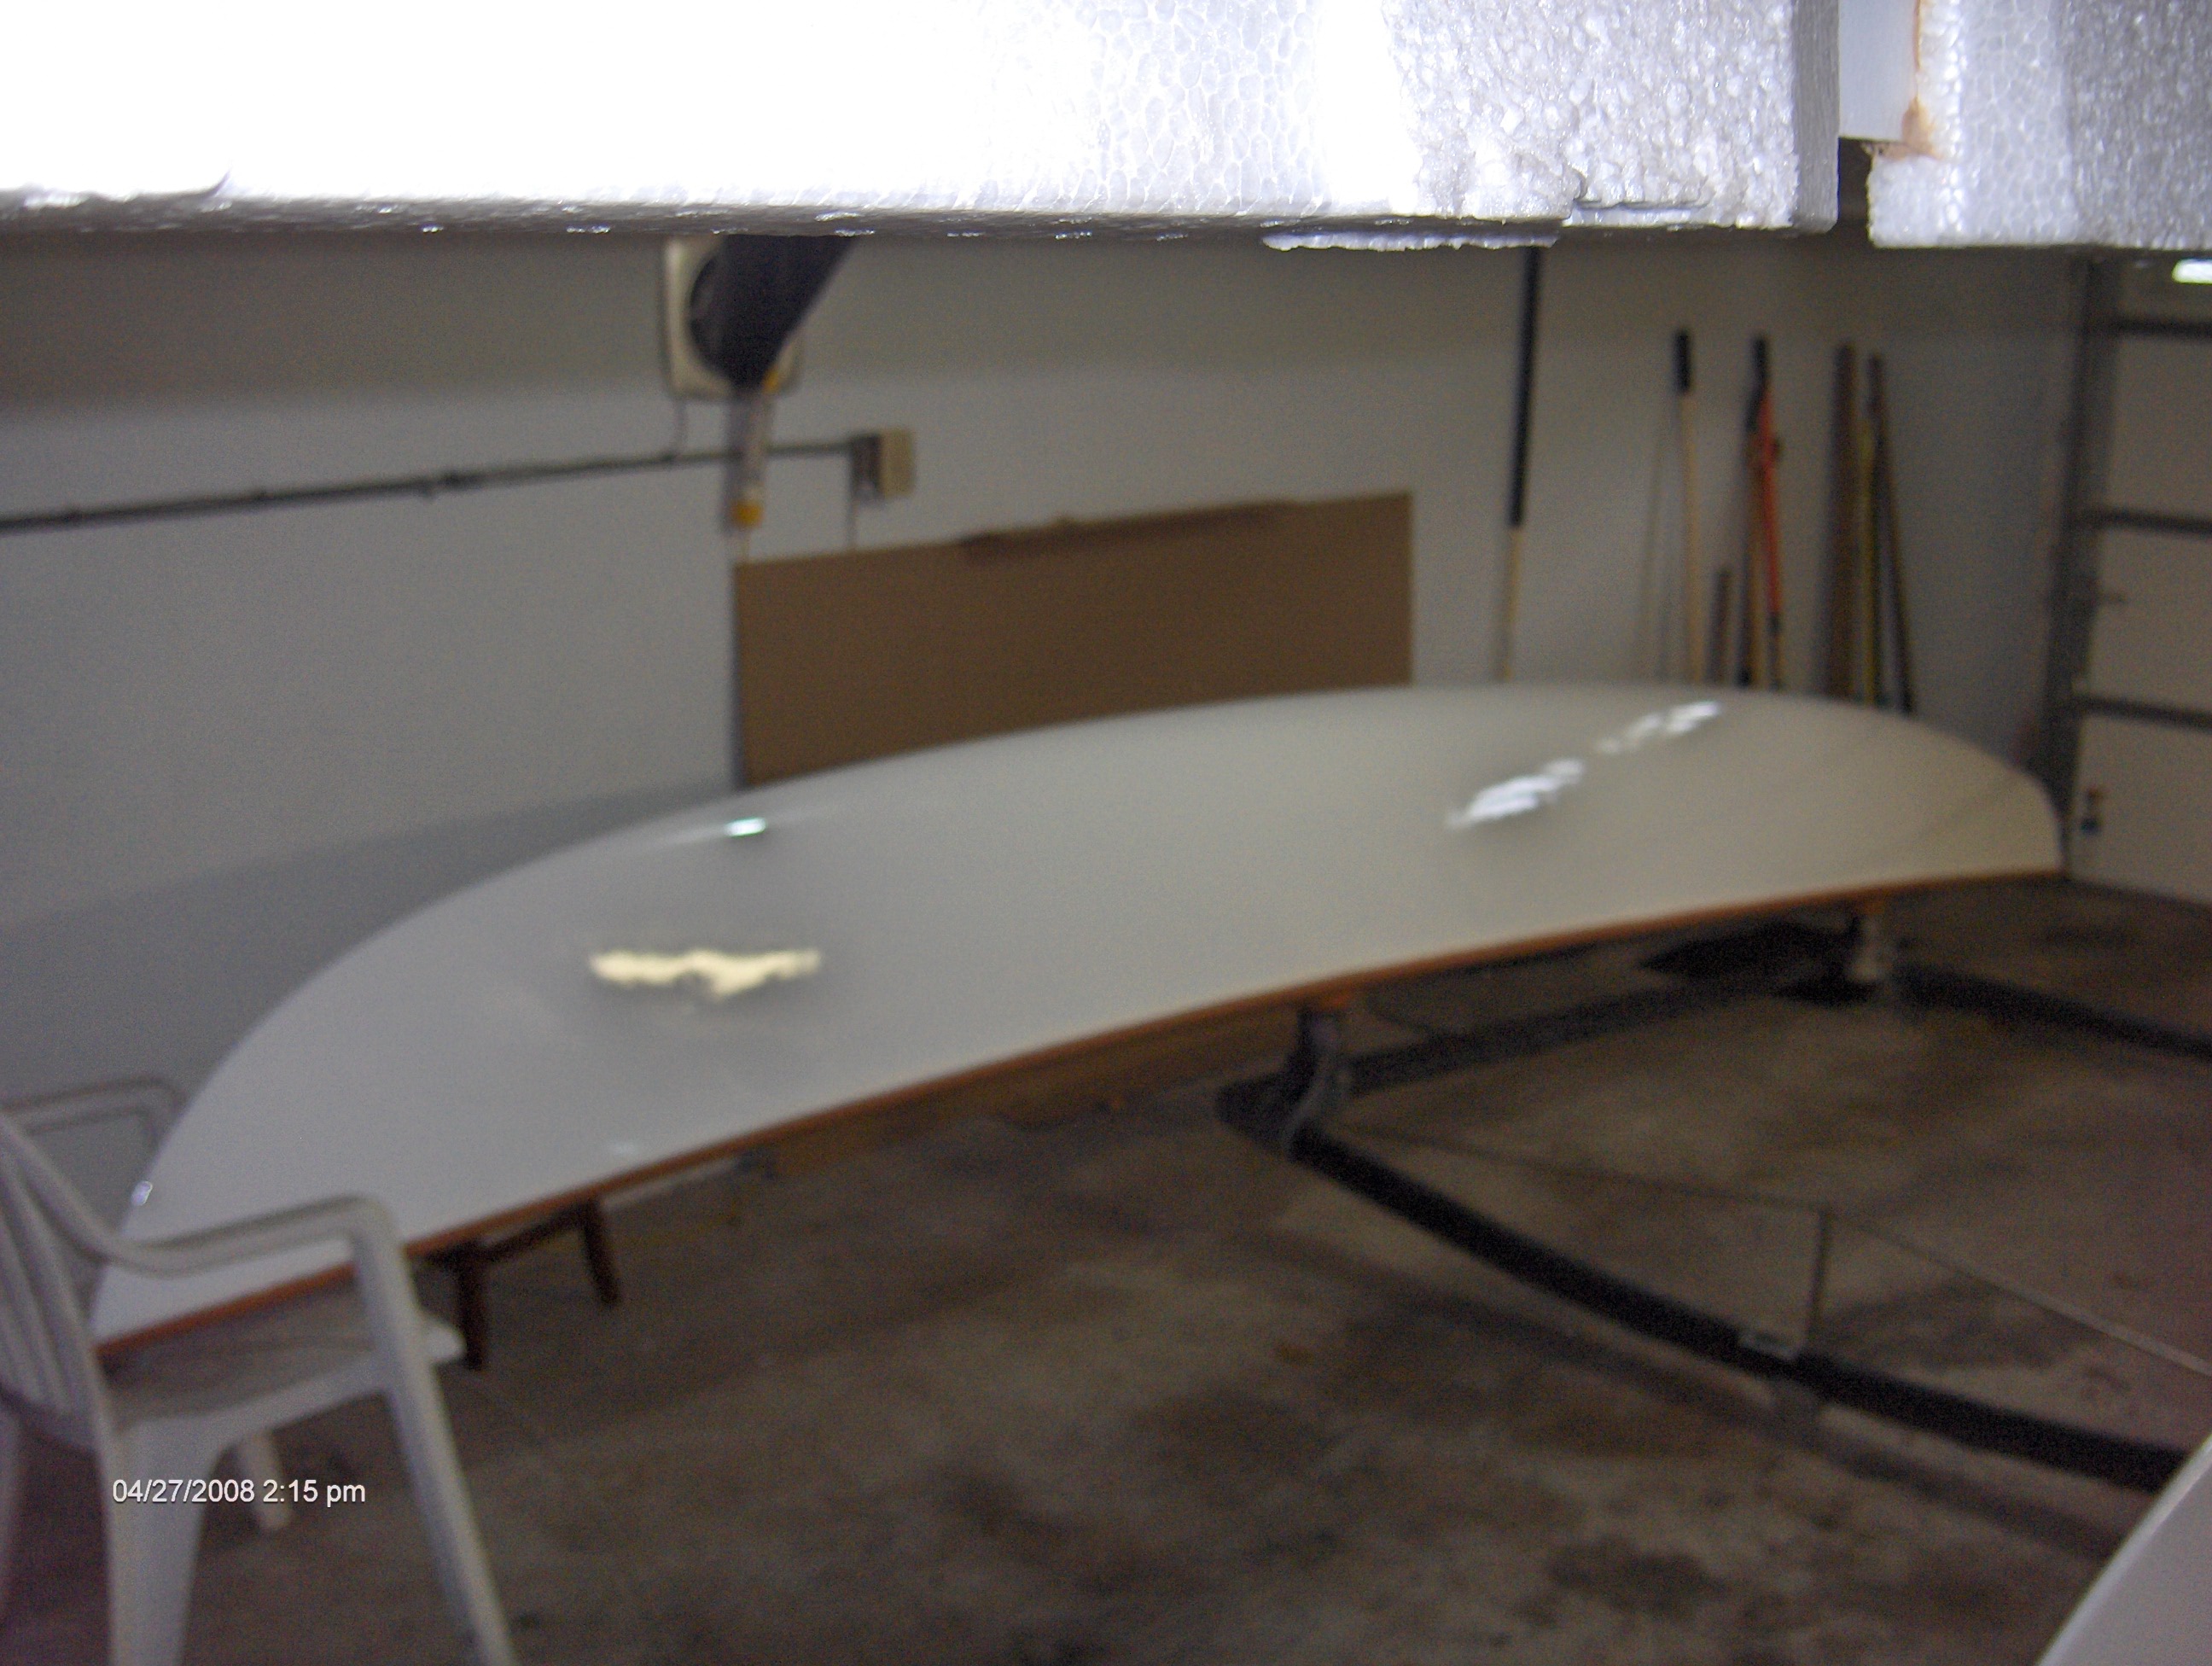
Follow up on my hull paint: I rolled two coats of West Marine Sea Gloss Pro (semi gloss white) polyurethane on my hulls. Polyurethane is pretty thin and tricky to work with. I developed a special procedure for this and, when I was done, three different people asked me what I used to spray my hulls (including two cat sailors!).
First of all one quart of paint covered both hulls with two coats. One coat on one hull takes about an hour. I put the boat in my garage upside down and propped the bows up on two resin lawn chairs and the rear beam up on two cinder blocks (make sure you don't smash the traveler). This gave me a good height to work with sitting down on a conductor's stool (a five gallon paint can makes a good stool too). I used a palm sander over the entire surface first with 80 grit and then with 120 grit. I didn't want it too smooth so the paint would stick. I painted small sections at a time , about 18 inches square. I used a 4 inch foam roller kit with tray. First, load the roller up with paint and, in a "W" pattern, work the paint into the hull surface going back and forth. With each "W" pattern lighten the pressure and slow down until the paint is distributed evenly. Remove the roller from the surface for about 20 seconds to let the paint rest or settle. At this point it will look like goose bumps. Then roll in one direction only (top to bottom or keel to deck since the boat is upside down) very, very slowly with no pressure at all. If the roller is making a squishy sound you are going too fast. Go even slower and lighter. "Squishy" is the sound of paint being pulled back off the boat and onto the roller. If you still have bumps or bubbles, do it again even slower. Be sure to have good lighting so you can see what you are doing. Besides the overhead lights I had a fluorescent drop light on the floor moving right along with me as I painted. I took a photo after the first coat but neglected to take one after the second. It still gives you a good idea of what it looks like though.

![[Linked Image]](http://i88.photobucket.com/albums/k192/skipper0802/IMG_0109.jpg)
